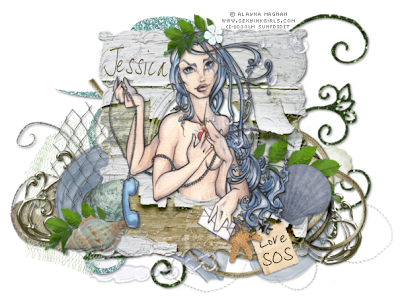
 Another one from Jessicas gorjuss kits
This ones made with Vicky and i love all the eclectic bits n bobs in it
Artwork©Alayna MagnanYou can purchase her work at CILM Not to be used without a licence.Scrapkit Vicky by Scraps By Jessica
Open a new working image 800 by 600Floodfill with whiteOpen the weathered frame and resize by 70%Paste onto the working imageadd a drop shadow #404040With your selection tool set on rectangledraw a square around the oval part of the framePaste a paper of choiceSelections> Invert and hit deleteSelections > Select noneclick back to the frame layer
Now paste your tube of choiceAdd ad rop shadow same as beforeposition the tube in the middleas we will have her emerging from the frame.Duplicate the tube and drag the duplicate beneath your framedo this in your layer paletteclick back to the top tubeNow depending on your tube usedWith your erase tool set on a small brushstart removing overlaps from the bottomso we give the effect of been in the frame.But things such as hair stay on the outside
Click back to the frame layerHeres where qe build up some elements around the frameUse your deform tool to get the optimal size for your tagPaste each element as a new layer and add a drop shadow to eachtry dragging them up and down in your layer paletteto fit them in and behind other elements.remeber the layer your working on at the time is highlighted in the pallettesimplt left click and drap up or down.For a couple of the elements i used, I used the colour change toolSimply click in the foreground material boxpick a colour with the dropper from your tubeclick onto your colour change tooland colour the elements to suit.Drag stuff beneath the frame also.
Once you have a good build up of elements and your happyResize the tag to 80%Add your copyrightYour wording and name
X out the white Background
and save as png
©Tutorial by Sunf of sunfindulgence any resemblence to any other tut is coincidental


No comments:
Post a Comment